DPF Monitor Mini
Technical Specification
| Operating voltage | 6-19V (32V MAX) |
| Operating current consumption | ~40mA |
| Standby current consumption | <8mA @ 12.5V 25°C |
| Supported CAN standard | UDS |
| Display | AMOLED 460x280px |
| Device size | 43.5mm x 28.5mm x 11mm (width x height x depth) |
| Housing material | ASA-CF (display), PETG-CF (OBD2 connector) |
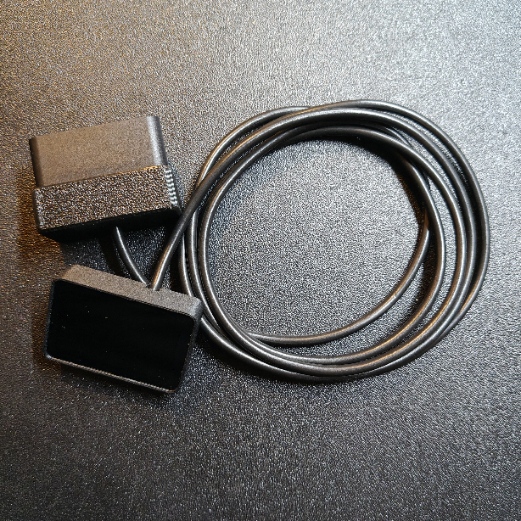
| Cable length | 1.40m |
User Manual
NOTE! The first connection of the device in the vehicle should always be performed with the engine running.
1. Main Screen
- The main screen consists of five pages. The user can choose the page that best suits their preferences.
- Switching between pages is done by swiping left or right.
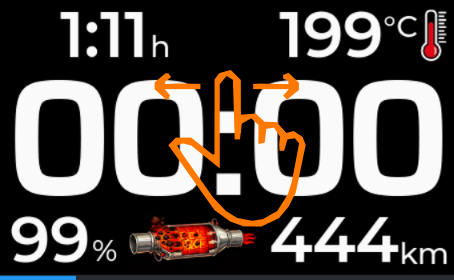
- If the device is not in auto-brightness mode, tapping the screen anywhere toggles between light (day) and dark (night) mode.
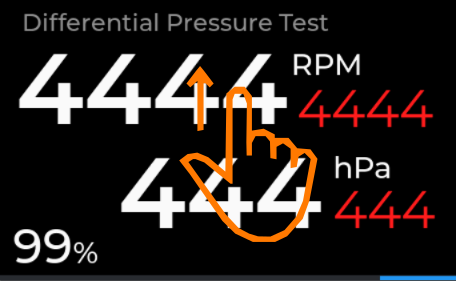
- When page 5 – Differential Pressure Test is displayed, the user can reset the maximum values by performing an upward swipe gesture.
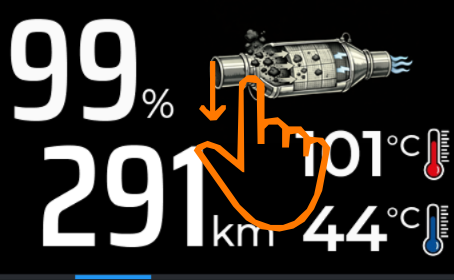
- From any page of the main screen, the user can access the menu by performing a downward swipe gesture.
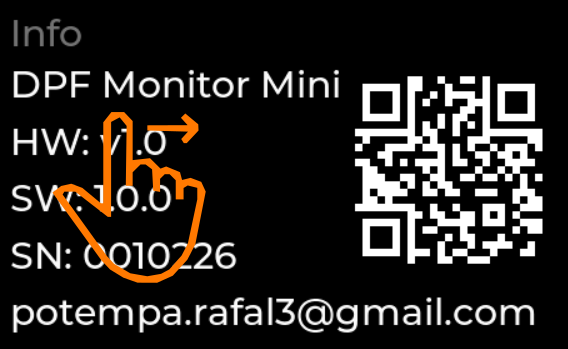
1.1 Description of Main Screen Parameters
Page 1
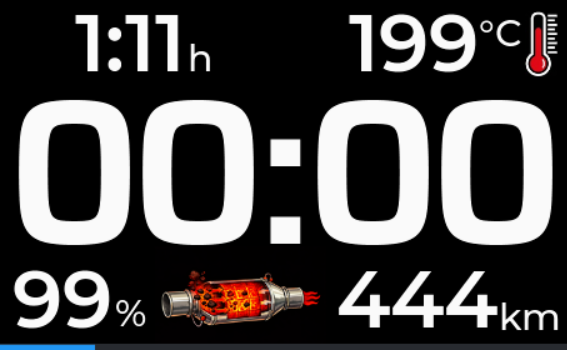
- The clock is located in the center of the screen.
- Upper left corner: Time elapsed since engine start.
- Upper right corner: Current oil temperature.
- Lower left corner: DPF load percentage (calculated based on calculated mass).
- Lower right corner: Distance since the last regeneration.
- Bottom of the screen: DPF status icon.
Page 2
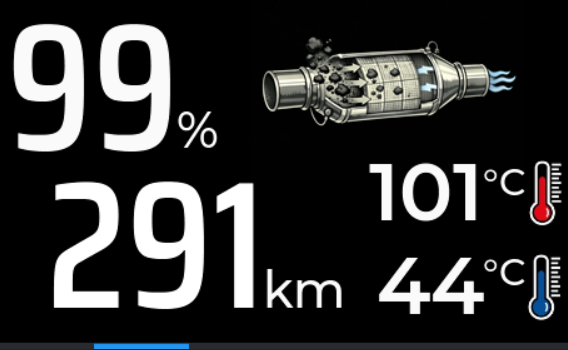
- Left side: DPF load and distance since the last regeneration.
- Upper right: DPF status icon.
- Lower right: Oil temperature (red icon) and coolant temperature (blue icon).
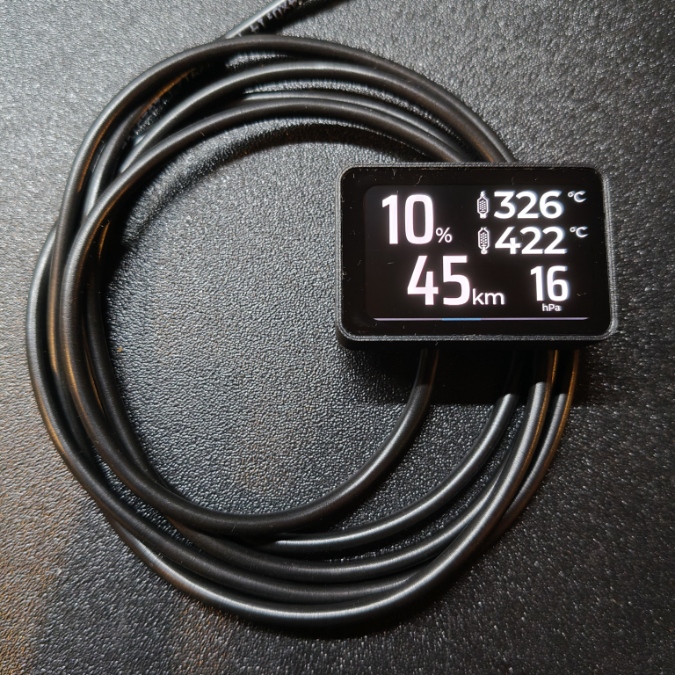
Page 3

- Left side: DPF load and distance since last regeneration.
- Upper right: Temperatures before and after the DPF filter.
- Lower right: Differential pressure.
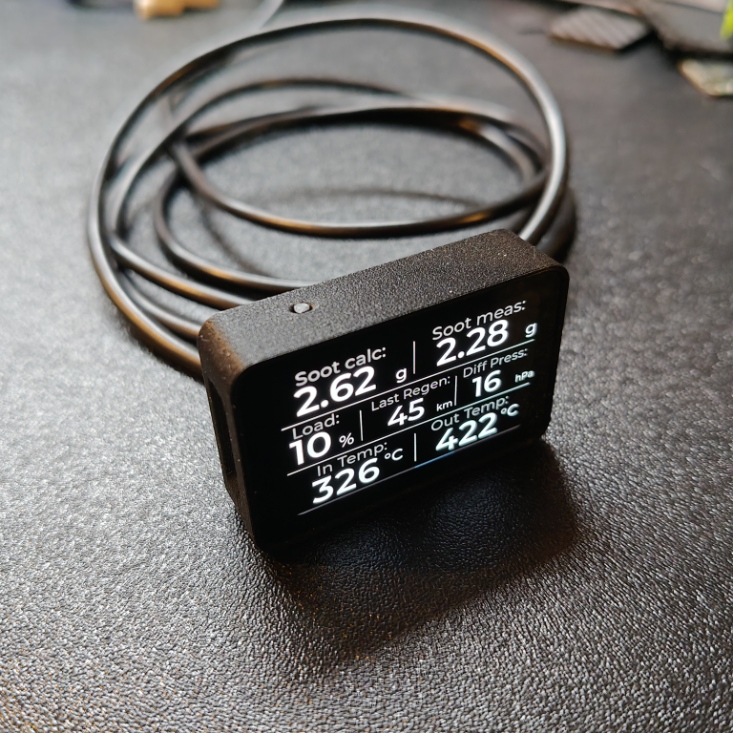
Page 4
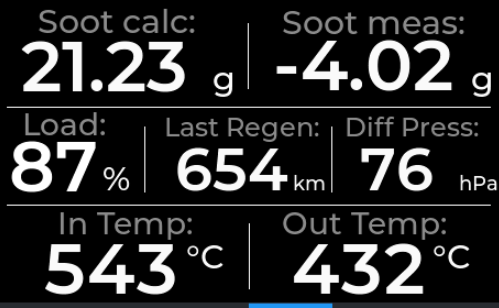
- Parameters are described on the screen.
Page 5
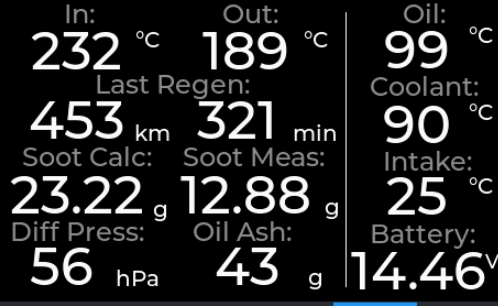
- Parameters are described on the screen.
Page 6
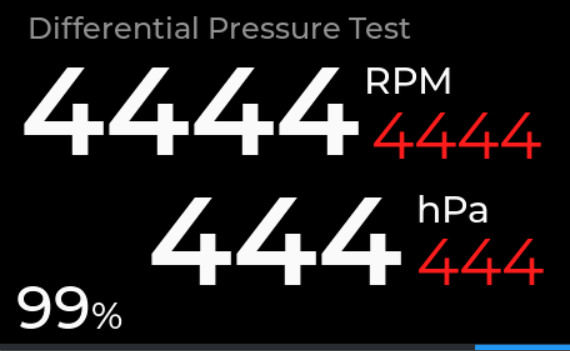
- On the last page, there is a measurement of the differential pressure. The maximum values are highlighted in red. In the lower left corner, the current percentage of DPF filling is displayed.
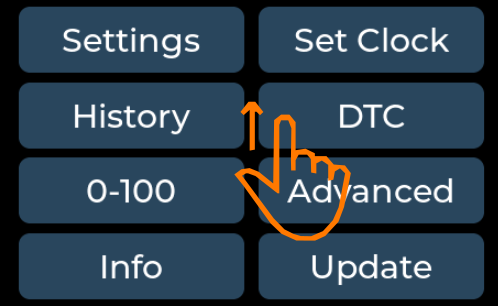
2. Menu
- The menu consists of six subpages.
- After entering any subpage, you can exit by swiping from left to right.
- Exit the main menu by performing an upward swipe gesture.
3. Settings
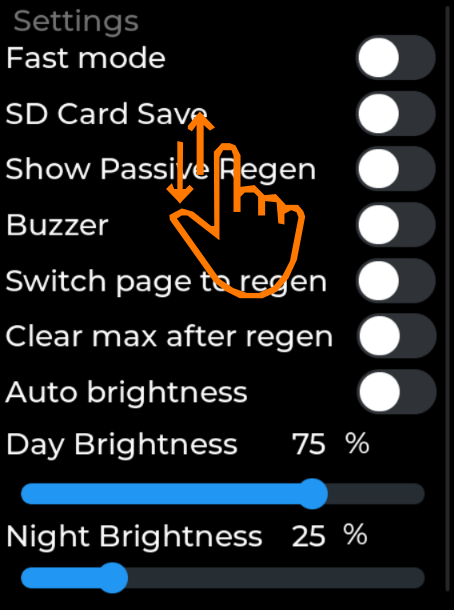
- Fast mode
- SD Card Save
- Show Passive Regen
- Buzzer
- Switch page to regen
- Clear max after regen
- Auto brightness
- Day brightness
- Night brightness
Enables high-speed mode. In this mode, CAN readings are performed more frequently, and only the parameters displayed on the current page are refreshed.
Enables data logging to the SD card. Data is saved every 1 second and includes all readable parameters. Note: SD card logging is not available when Fast Mode is active.
Enabling this option displays passive regeneration info on the main screen (indicated by orange temperature values or DPF icon). Passive regeneration is detected based on measured soot mass (mass decrease = passive regen).
When enabled, the device emits a sound signal at the start and end of the DPF regeneration process.
When enabled, the screen automatically switches to Page 4 (key DPF parameters) during DPF regeneration.
When enabled, the maximum values on Page 5 – Differential Pressure Test are automatically reset after DPF regeneration is completed.
The device automatically toggles between day/night brightness. If disabled, the user can manually switch modes by tapping the screen.
Screen brightness setting for day mode.
Screen brightness setting for night mode.
4. Setting the Clock
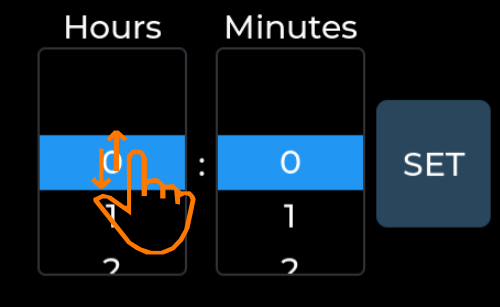
- To set the time, swipe your finger up or down on the screen for hours and minutes, then click the set button.
5. DTC
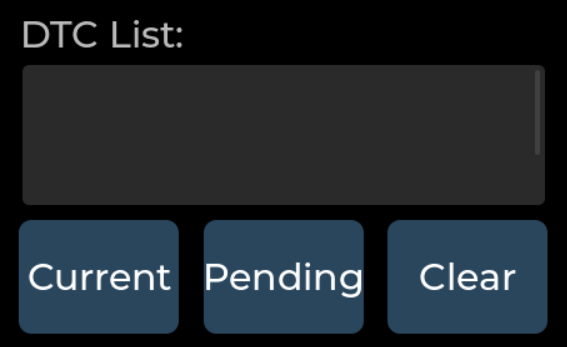
- Current
- Pending
- Clear
Reads Diagnostic Trouble Codes (DTC) stored in the controller's memory (codes that trigger the Check Engine light).
Reads DTCs that have been detected but are not yet permanently stored in memory.
Clears all DTCs stored in the controller's memory.
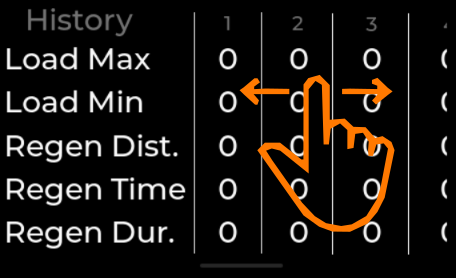
6. History
- The device stores history for the last 10 DPF regenerations.
- After reaching 10 entries, new data overwrites the oldest records.
- To view more history records, swipe left or right on the right side of the screen.
- To clear the entire history, hold the History button for 2 seconds.
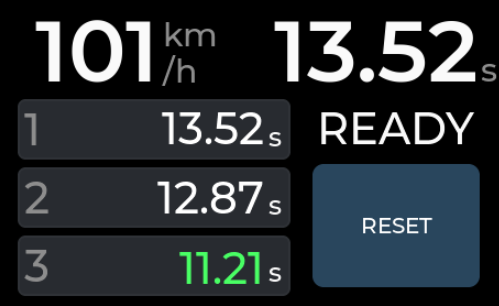
7. 0-100 km/h Measurement
- The device enables measurement of acceleration time from 0 to 100 km/h.
- The current measurement result is displayed in the upper right corner of the screen.
- Below, the three most recent results are shown. The best result is highlighted in green.
- READY indicates readiness to start the measurement. STOP waits for the vehicle to stop. RESET waits for a reset button click to reset the measurement and start a new one.
- Holding the RESET button resets the three most recent measurement results.
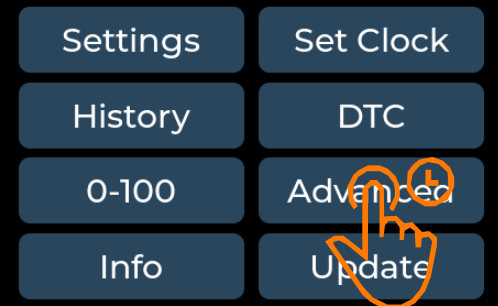
8. Engine Data Reading (Advanced)
- The device enables reading data from the engine such as: boost pressure, fuel pressure on the rail, MAF, injector corrections, and exhaust temperatures. Access is provided through the Advanced button in the menu.
- Page changes occur by swiping the finger up/down.
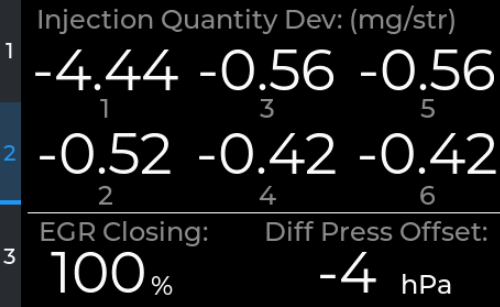
- To get out of this menu, swipe left or right on the screen.
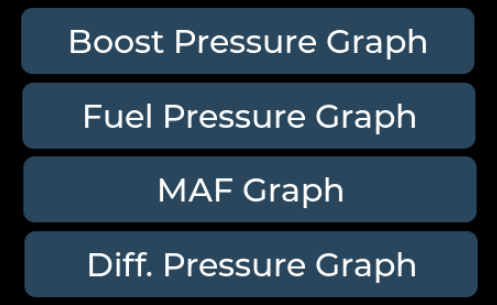
- There is also the possibility to view data on a graph, such as: boost pressure, fuel pressure, MAF - actual and measured values. For this, you need to hold the Advanced button for 2 seconds.
- Next, select the graph you want to view.